
Chicken Coop Project – May 2009
By Butch Bridges
Lone Grove, Oklahoma
Last modified February 24, 2012
NOTE: On February 24, 2012 we gave our chickens to the neighbor. With chicken feed going up every month or two, decided to get out of the chicken farming business. With just 3 hens, it just wasn’t worth it.After completing my wood pallet shed the end of April 2009, I decided to start another project, build a chicken house using wood pallets. Since we moved south of Lone Grove to 3 acres on February 2, 2008, I’ve wanted about 4 chickens and a rooster so we can have fresh eggs. These first 2 photos shows how I bolted 3 wood pallets together to make a ‘floor’ 42 inches wide by 126 inches long (each pallet is exactly 42″ square). I used my jig saw to cut 2X4 rectangular shaped holes in the underside of the pallets where I attached the legs using bolts and waterproof wood glue.
This is the basic floor turned right side up with 24″ legs attached underneath. My plan is to have in one end the roosting area, and the nesting area in the other end of the coop.
05/17/09 I got the floor on cement blocks and moved into place behind the recently finished shed. This first view is looking at the front, where a door will soon be.
This view is looking at the backside, you can see the 4 nests I’ve placed in the closest end. In the far end will be the roosting area.
View of nesting doors before paint, handles and magnet latches on back of doors.
Photo 6 Nesting Doors Finished
05/22/09 Bought 4 sheets of 1/2 inch CDX plywood from McCoy’s @ $10.99 sheet, working now to get the sides covered. I’m pretty much cutting the 4X8 sheets of plywood in half, making 4 ft by 4 ft squares. This view is of the nesting area.
This is looking in what I call the “west” Access Door. The right side is a removable piece of plywood held to the wall frame with 4 anchor bolts and a 1/4 inch hex nut and washer on the outside. The left side of the access door is just a regular hinged door to allow reaching inside to clean out the roosting area. You can see the hen’s front entrance door and ramp in the down position.
West Access Door Closed Anchor bolt close-up West Access Door Open
I took this view from inside the access door, looking toward the nesting area on left. (The floor covering is not in place yet.)
On the east end of the coop, inside the run, is another access door. We use it to clean out the area in front of the nests. This also gives a closeup view of the window to let in some light.
East Assess Door Closed East Access Door Open
For the outside paint I am using Battleship Gray oil base paint (not latex) I bought from Cooks Paints on Main Street of Ardmore. Oil based paint is becoming harder and harder to find in the gallon cans (or find period), but I know you can still buy it a Cooks Paints. This particular paint is Benjamin Moore’s urethane alkyd gloss enamel paint.
Paint brush tip: Jill’s keeps a supply of those $1 brushes (there is about 3 sizes) from Dollar Tree on hand all the time. I have used one brush on the first day, wrapped it tightly in a plastic bag, used it the second day, wrapped it again real tight in another plastic bag, and then used it again on the 3rd day (using oil base paint). Now that’s getting mileage out of a $1 brush. I’m sure the same kind of brush can be bought at General Dollar or Family Dollar stores.
Of course, no chicken coop is complete without a woman’s touch. Jill took a piece of 18″ square glass we had, painted a barn on it, with some little windows to look though, and we mounted it on the front of the coop. In this picture you can see the gang plank by the roosting area with a yellow rope attached to the end to pull it up at night. This will close off the Hen Hotel doorway (more of Jill’s handiwork) and keep the chickens safe inside. After dark when the chickens are inside, all we have to do is pull the other end of the rope (back side of coop) to put the gang plank into its vertical position.
During the first week of June 2009 our family grew with 5 Barred Rocks chickens.
Our rooster Milo up close and personal on Sunday July 26, 2009.
Picture of the Barred Rocks on Sunday July 26, 2009.
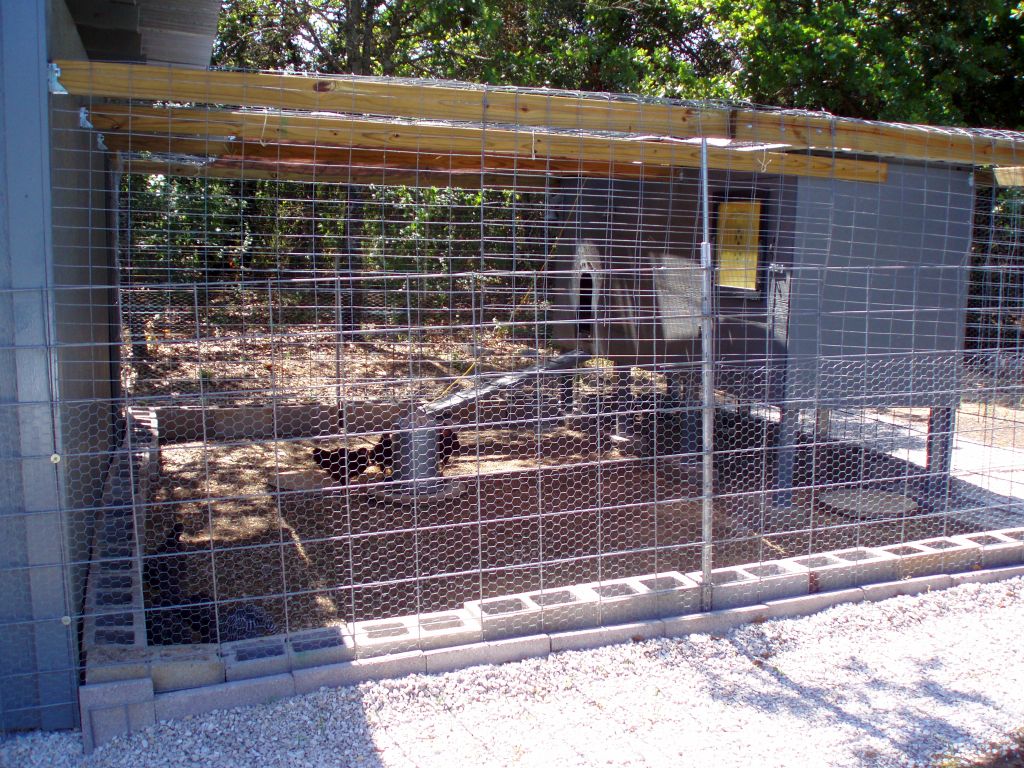
Latest picture of coop and run………… click here
Worm Harvester
After the chickens were in their new coop and doing fine, I bought 1,000 red worms from www.Earthworms4Sale.com in Raleigh, North Carolina. The worms arrived in perfect condition and have been doing fine in their worm bin. We feed them once a week leftovers from the kitchen and they are thriving. These worms will eventually be treats for the chickens.
Over the Labor Day weekend 2009 I built a worm harvester so I can separate the worms from the casting (that’s the rich ‘black gold’). Hopefully you will be able to figure out from the 2 pictures below how it works. You put a handful of castings/worms from the bin into the end furthest from the crank, start cranking the handle at the other end, and since it on an incline, the worms and castings start moving down toward the handle. As they travel down the 1/4 inch hardware cloth, the castings drop out below to a tarp, and the worms continue on down the tube until they reach the other end, falling into a waiting container. (I had just put a fresh coat of Linseed Oil on the 2x4s to help waterproof the boards).
https://www.oklahomahistory.net/ttphotos9a/WormHarvester090709a.jpg
https://www.oklahomahistory.net/ttphotos9a/WormHarvester090709b.jpg